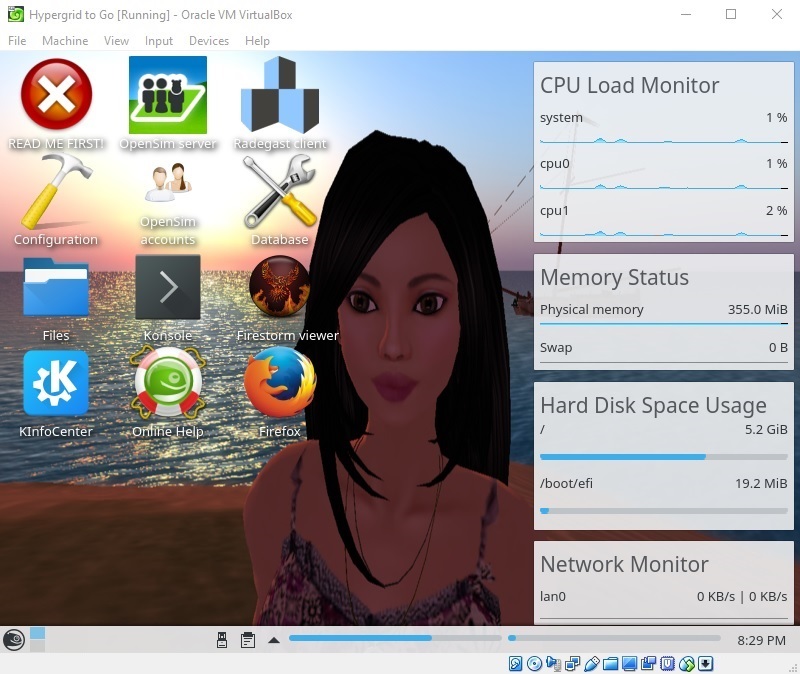
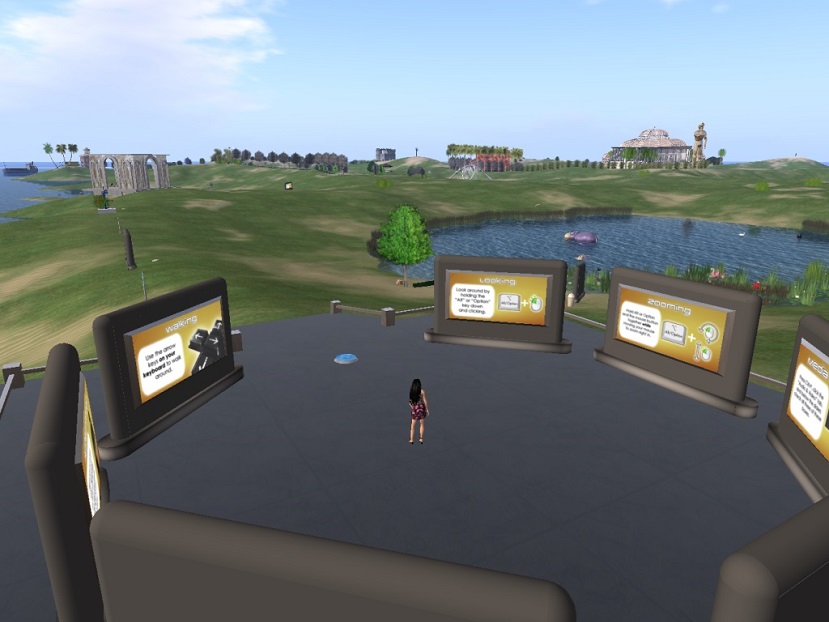
Hypergrid to Go is a Hypergrid-enabled OpenSim virtual world server, packaged as a self-contained virtual appliance. With OpenSim, you can create a multi-user 3D world similar to Second Life. Hypergrid connectivity lets users jump (“teleport”) between your server and others. A ready-to-use, fully customizable world and a large asset library are included.

As explained here, I recommend running Hypergrid to Go as a virtual machine in a hypervisor like VirtualBox or QEMU (both freely available for Windows, Mac and Linux), VMware Workstation Player (Windows, Linux) or Hyper-V (Windows).
Download
Hypergrid to Go is distributed as a raw disk image (.raw) which can be converted to a variety of virtual disk formats.
You can download the xz-compressed disk image (.raw.xz) here.
The current version (1.900.1) is based on openSUSE Leap 42.3 and OpenSim 0.9 (Diva distro r09000).Unpack
Once downloaded, the compressed .raw.xz file needs to be unpacked. An easy way to do this on Windows, Mac and Linux is with e7z. On Windows, you can also use WinZip.
If you live on the *nix command line, you probably know all about unxz already; just remember to use the -k modifier if you want to keep the downloaded .raw.xz file as backup.
Convert
One more step is needed to turn the extracted .raw image into a usable virtual disk. The details depend on your choice of hypervisor.
-
For VirtualBox, use the VBoxManage convertfromraw command to create a VDI (VirtualBox Disk Image). To create a disk image called virtualdisk.vdi from a .raw file called downloaded.raw, you would say:
VBoxManage convertfromraw downloaded.raw virtualdisk.vdi --format VDI
If VBoxManage is not on your path, you will find it in the VirtualBox installation directory (on Windows, typically "C:\Program Files\Oracle\VirtualBox"). -
For VMware Workstation Player, you need to create a VMDK (Virtual Machine Disk). VBoxManage can be used for this conversion too:
VBoxManage convertfromraw downloaded.raw virtualdisk.vmdk --format VMDK
(VirtualBox can also use VMDKs instead of VDIs).You can also use the qemu-img utility which comes with QEMU:
qemu-img convert -f raw downloaded.raw -O vmdk virtualdisk.vmdk
If qemu-img is not on your path, you will find it in the QEMU installation directory (on Windows, typically "C:\Program Files\qemu"). -
For QEMU, create a QCOW2 (QEMU Copy On Write, version 2) disk. Using qemu-img, the command is:
qemu-img convert -f raw downloaded.raw -O qcow2 virtualdisk.qcow2
QEMU can also use the .raw file as is, but this means wasting several GB of disk space, since .raw images are not dynamically sized; a .raw image of a 16 GB disk is always 16 GB, even when empty. -
For Hyper-V, create a VHDX (Virtual Hard Disk, version 2). This too can be done with qemu-img:
qemu-img convert -f raw downloaded.raw -O vhdx virtualdisk.vhdx
Mount
Create a new virtual machine for your hypervisor (Machine | New in VirtualBox Manager, “Create a New Virtual Machine” in VMware Workstation Player etc.) with the following properties:
64 bit Linux (openSUSE).
At least 3072 MB of memory, preferably 4096 MB.
If you have a quad core CPU or better, two “processors”.
Bridged Network Adapter (this gives the virtual machine its own address on your local network, separate from the host's).
Do not create a new hard disk (or, if you did, remove it). Instead, choose the option to use an existing hard disk and select the virtual disk which you created from the downloaded .raw image.
Run
...patiently:
The first launch takes some time as the virtual machine goes through initial setup. Subsequent launches are faster.
If you see a login prompt during the boot sequence, ignore it. The machine will autologin to a graphic desktop when ready.
That desktop features a big red button labeled with the words "READ ME FIRST!". Please click it.
The first OpenSim launch is preceded by database unpacking, which takes several minutes. No, it's not stuck! (Watch disk activity for proof.) Do not interrupt it or you will end up with a broken database, and probably have to start over with a fresh virtual machine.

Have fun!